How to carve your own eraser stamps
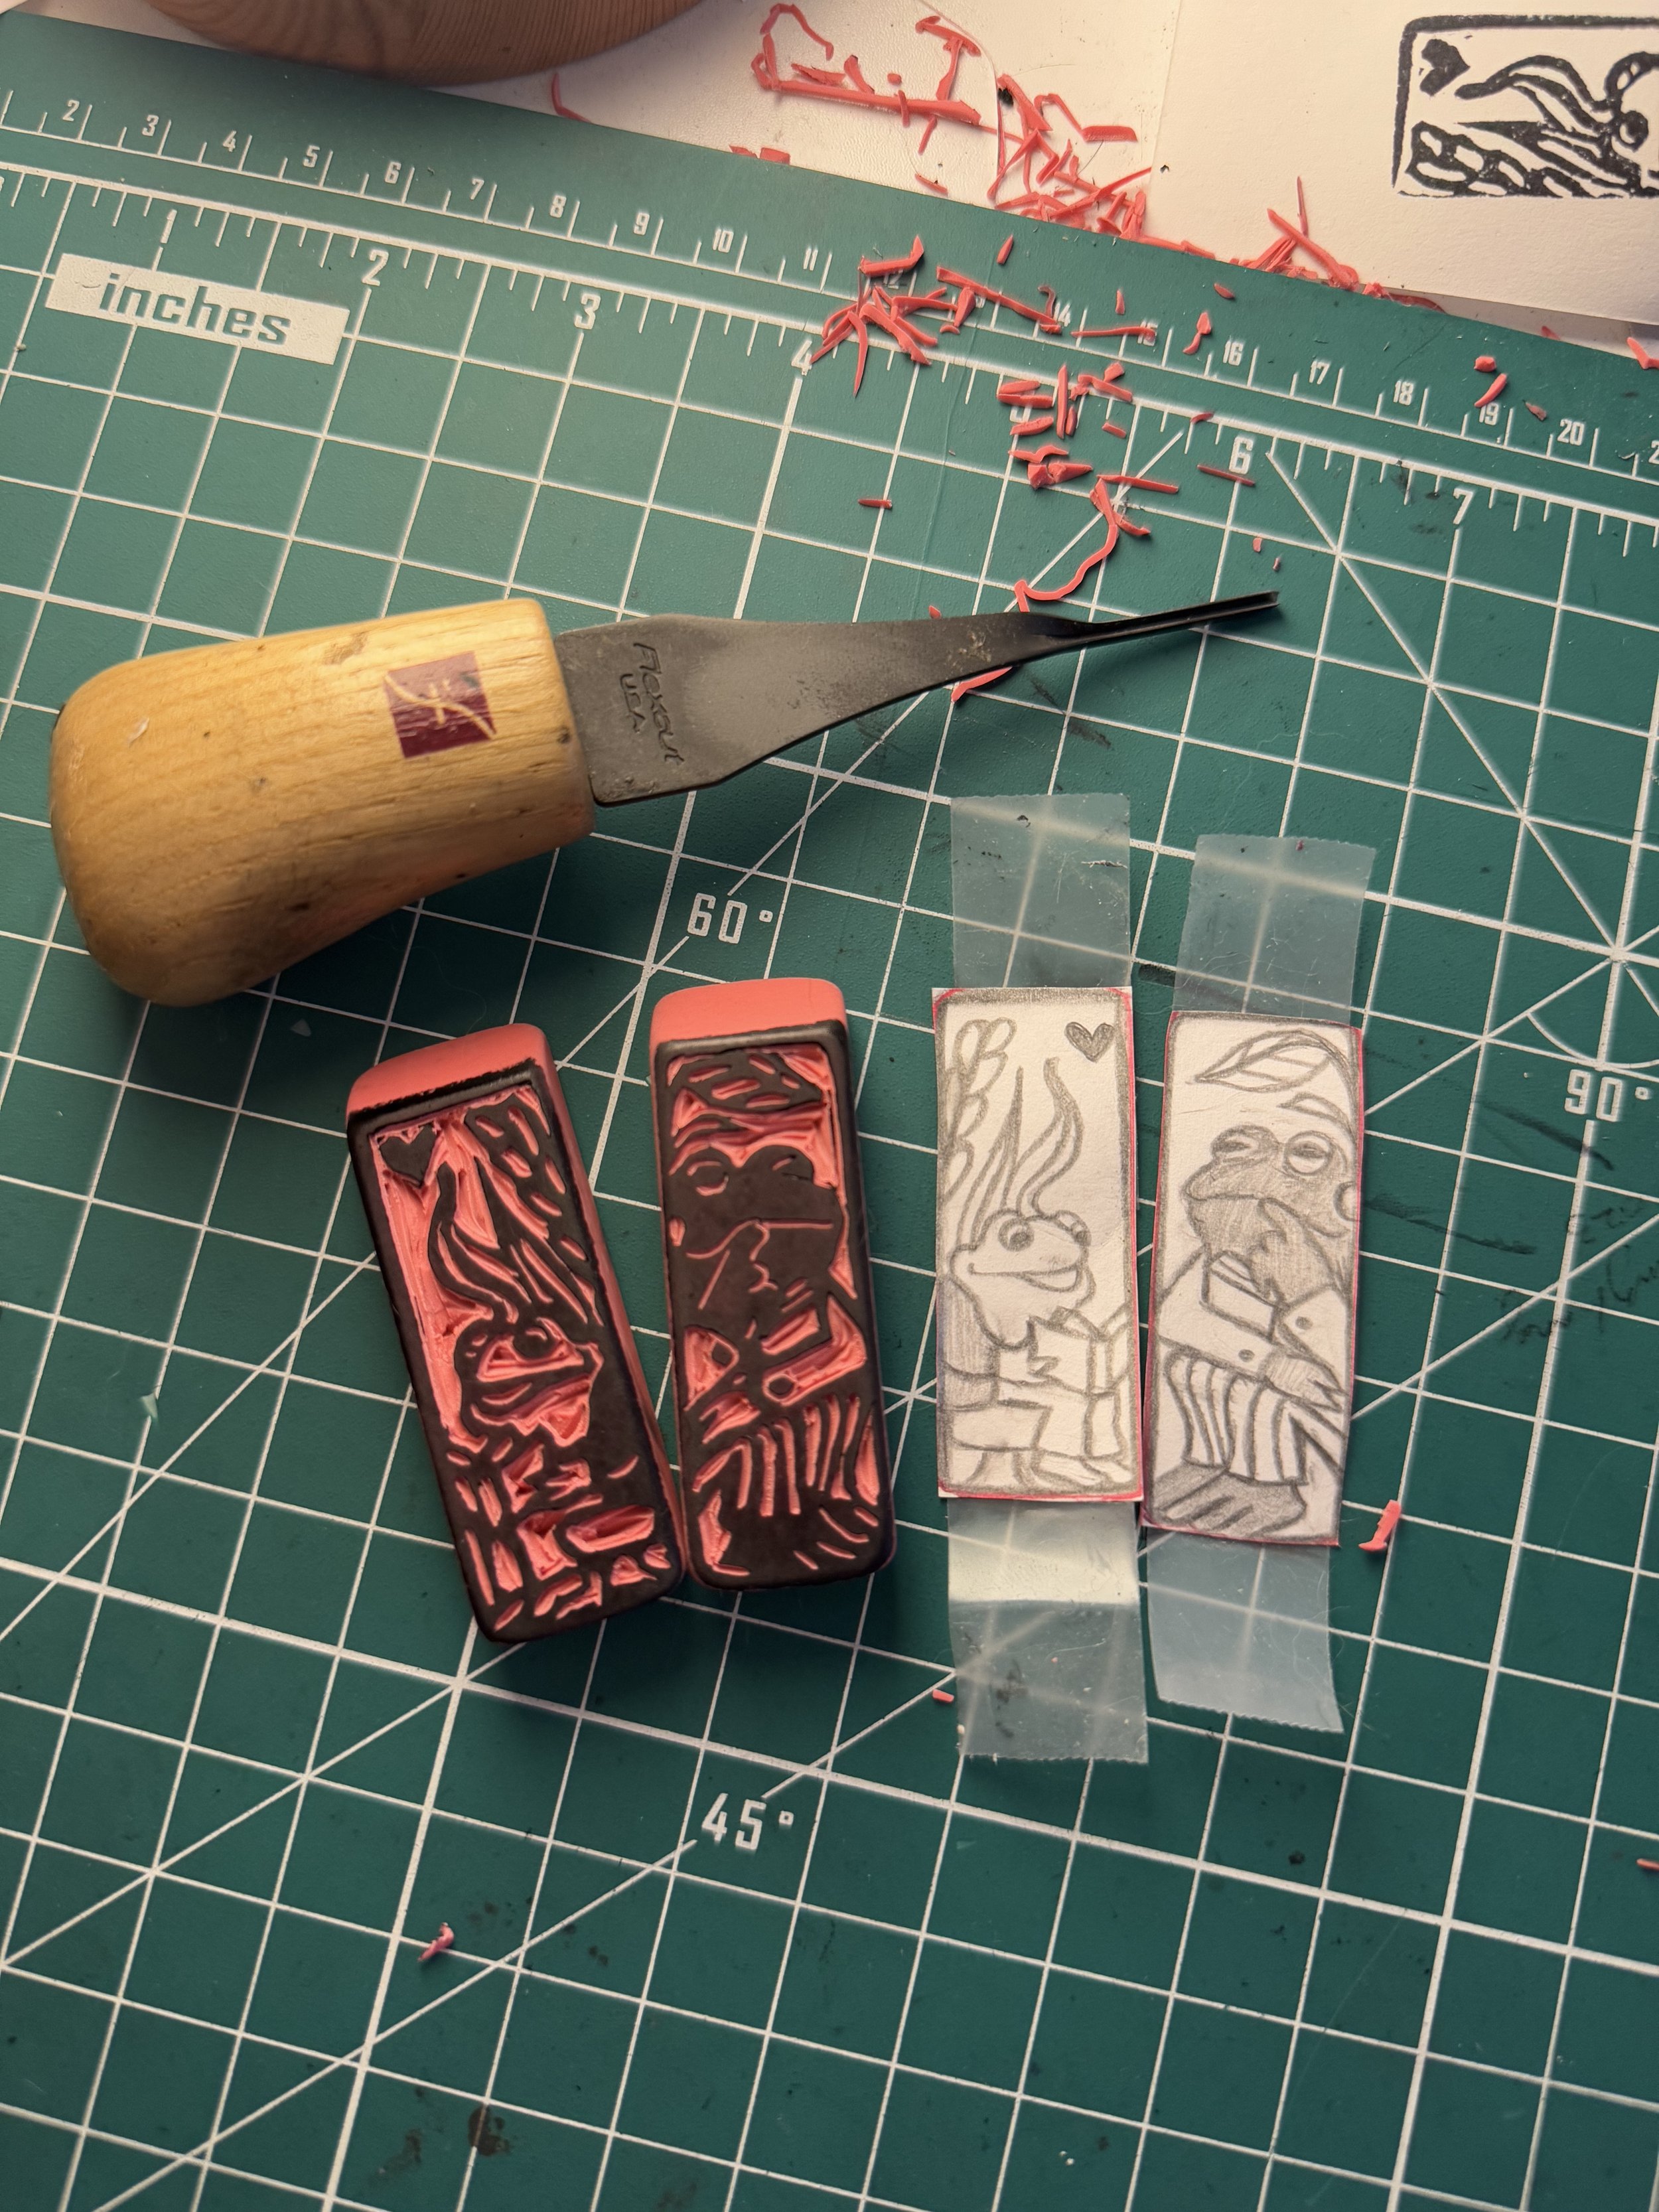
I recently made these fun Frog & Toad themed eraser stamps and wanted to share the process for anyone else who may be curious to give it a try!
Materials used:
Pink Pearl Erasers
Carving tool (you can use the skinniest tool from a standard Speedball linocut set)
Tape
Pencil
Paper
Inkpad
Part One: Create your design
To set up for your stamp design — do the following:
Trace the eraser outline on a sheet of paper
Within the outline of your eraser, this will be the space where you draw your design
Take time to sketch a design you are happy with!


(a very early stage sketch)
-
remember that you will have to carve out the negative space from your design — avoid drawing lines that are too fine or close together
don’t feel pressure to make the design “perfect”, this process is meant to be a fun way to explore your creativity!
-
Stamps will print the mirror image of whatever you carve out of your eraser. So, for ex. — if you made a smiley stamp, when you actually print it on paper it will be reversed
“:)” —> “(:”Drawing on paper allows you to easily erase lines if you change your mind, it is much harder to do so if you draw on the eraser directly
Part Two: Transfer the design
Once you have a design you are happy with, you can then transfer it to your eraser for carving with these 3 easy steps:

example eraser design transfer
Take time to retrace your outline in pencil and make sure all your outlines are saturated with lead
Cut out the design and tape it face down on the eraser
Use a pencil to apply pressure on the other side of the design to transfer your design over

Part Three: Carve your design
Now that you have transferred your design, we get to carve the stamp!! (my favorite part of the process)
The goal here is to remove any negative space where you do not want ink to touch, leaving only the lines for your design left.
note: the carving process takes time, do not rush this part! As once you carve out your eraser, you will not be able to easily fix parts if you accidentally carved too much. Slow and steady wins the race here :)
Tips for carving:
Start with outlines first, working your way out from the inside and removing the negative space with your carving tool
If you realize that your design needs some adjustment, you can take a pencil and draw over your eraser design (just make sure when carving you follow the correct outline!)
Go slow — the carving process cannot be rushed, it might take longer than you expect (i.e. a few hours) to carve just one small eraser, but that’s part of the journey!
If you make a mistake, see if there’s any way you can salvage the rest of the design — otherwise, don’t be scared to start over again <3
-
Recommendation is to hold the tool in your dominant hand the same way you would hold a fork when cutting through a steak. (With your index finger extended and putting pressure along the top metal part of the tool, with your thumb adding support from the bottom)
-
“Negative space” is basically the white space around your design. Depending on how you it, there may be more or less negative space to be carved out.
(for ex. if you wanted to carve a smiley face such that “:)” is black, you would have to carve around the “:” + “)” — however if you want to carve a stamp where the “:)” is white and the background is solid, then you only need to carve out the dots + lines in “:)”)
Part Four: Stamping!
Congrats on making your eraser stamps! Now you can have fun with them and pretty much do whatever you like!
With these Frog & Toad inspired stamps, I experimented with printing them on 2”x6” papers to make bookmarks — this is just one way you can use them (otherwise, go wild!!)


Try it for yourself! Download my free Block Print 101 Guide below
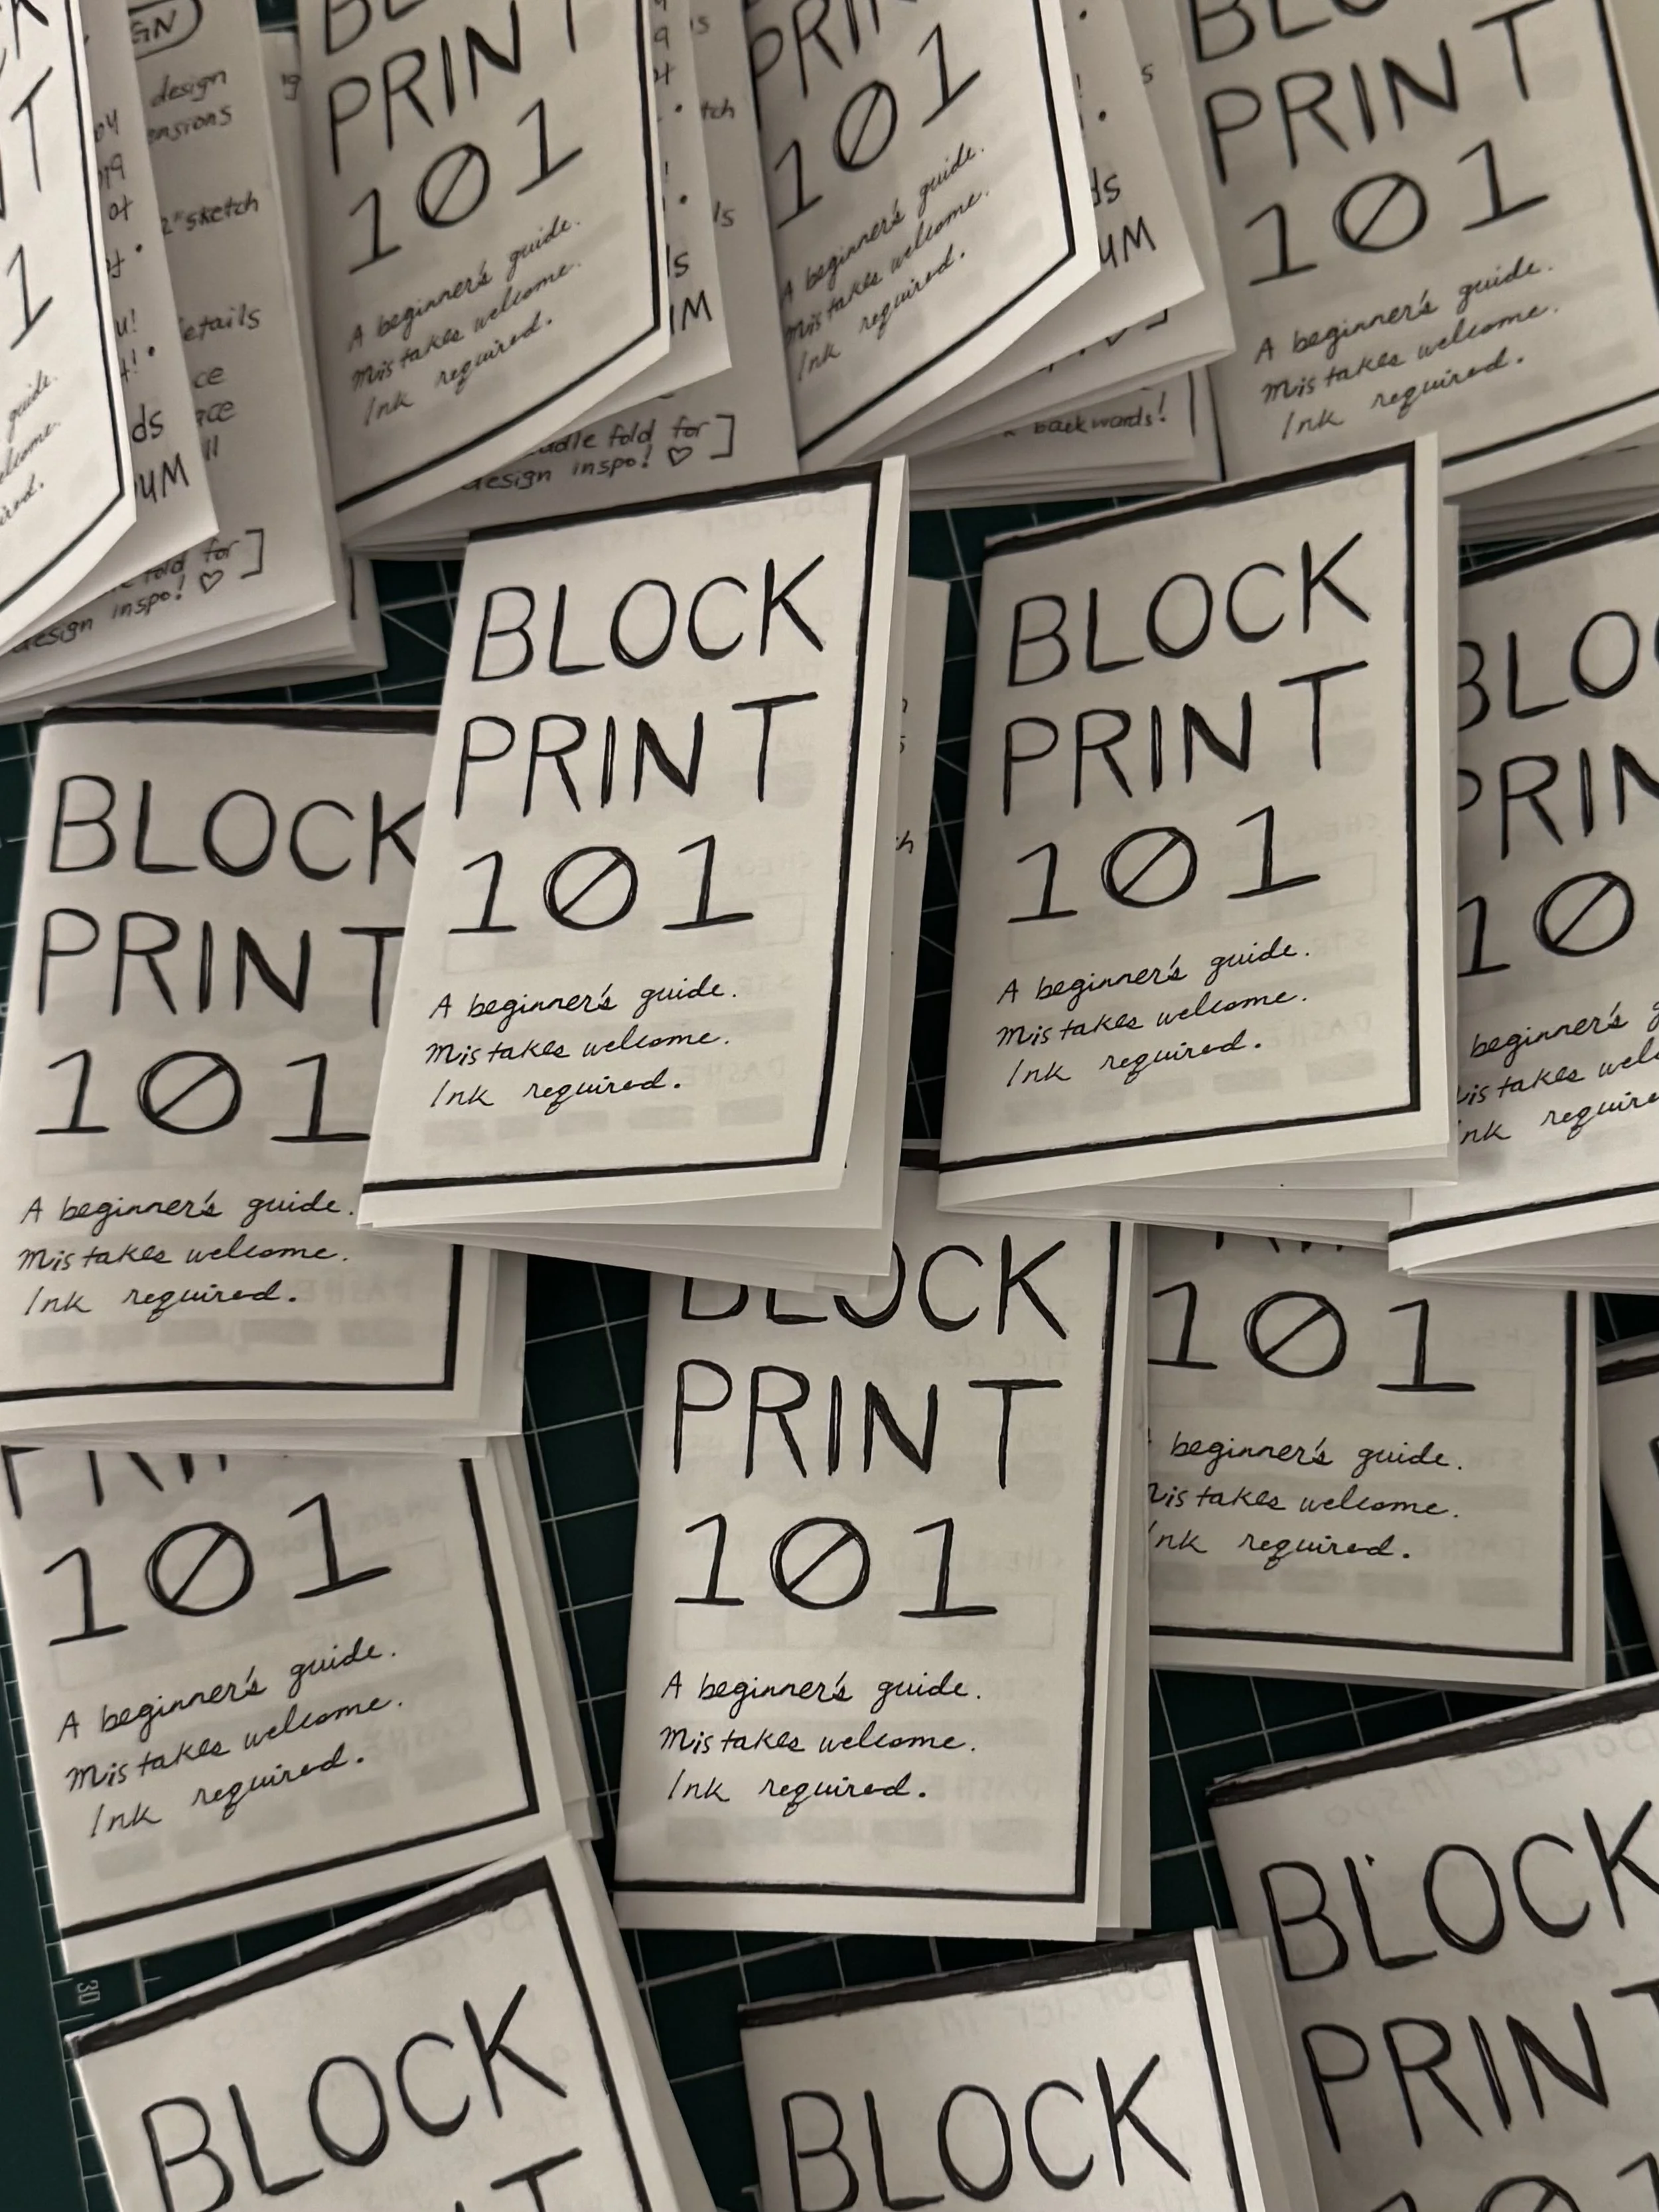
Free Block Print 101 Zine! This PDF comes with a double sided zine that folds into a classic 8 page spread — the inside of the zine folds out and has additional design tips.
This zine is intended for educational use only! Please do not reuse or resell the artwork.
